
 1
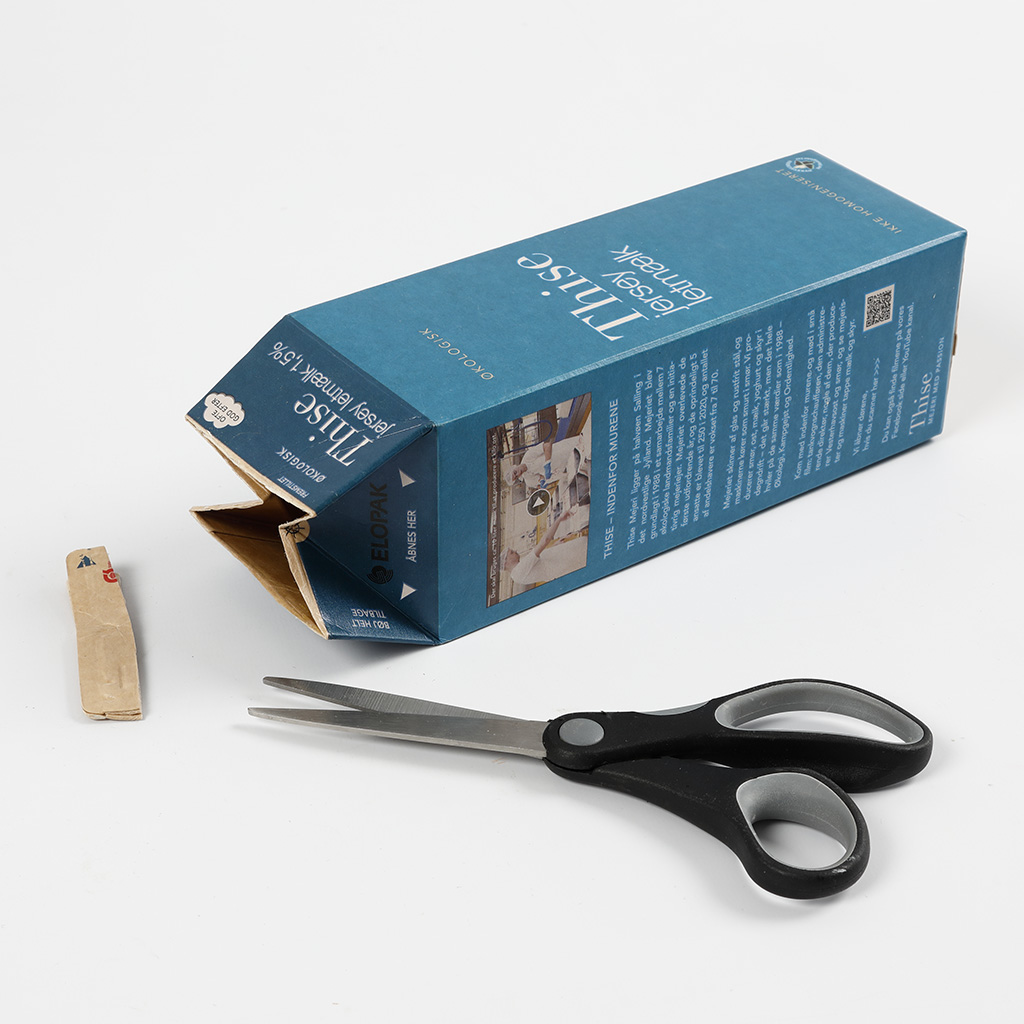
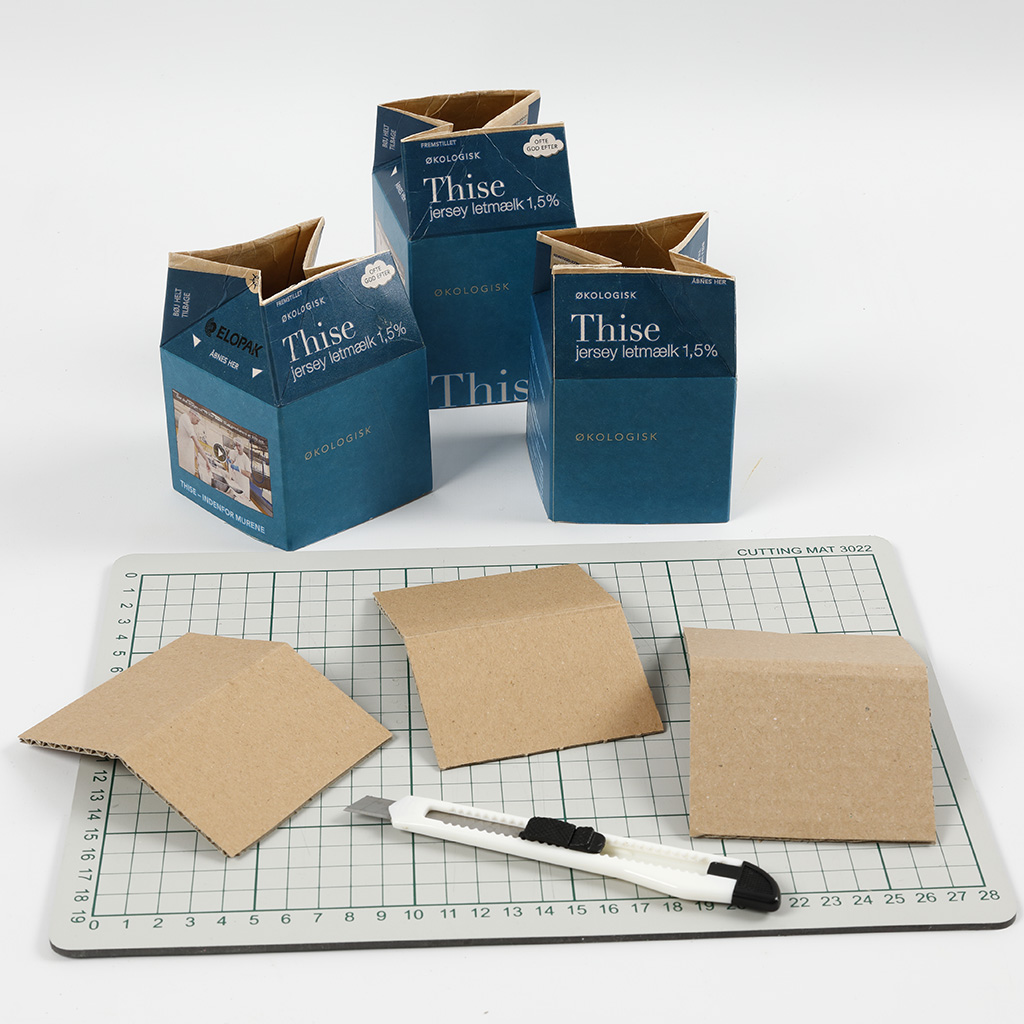
1Trim the top section of the carton to form the church tower.
 2
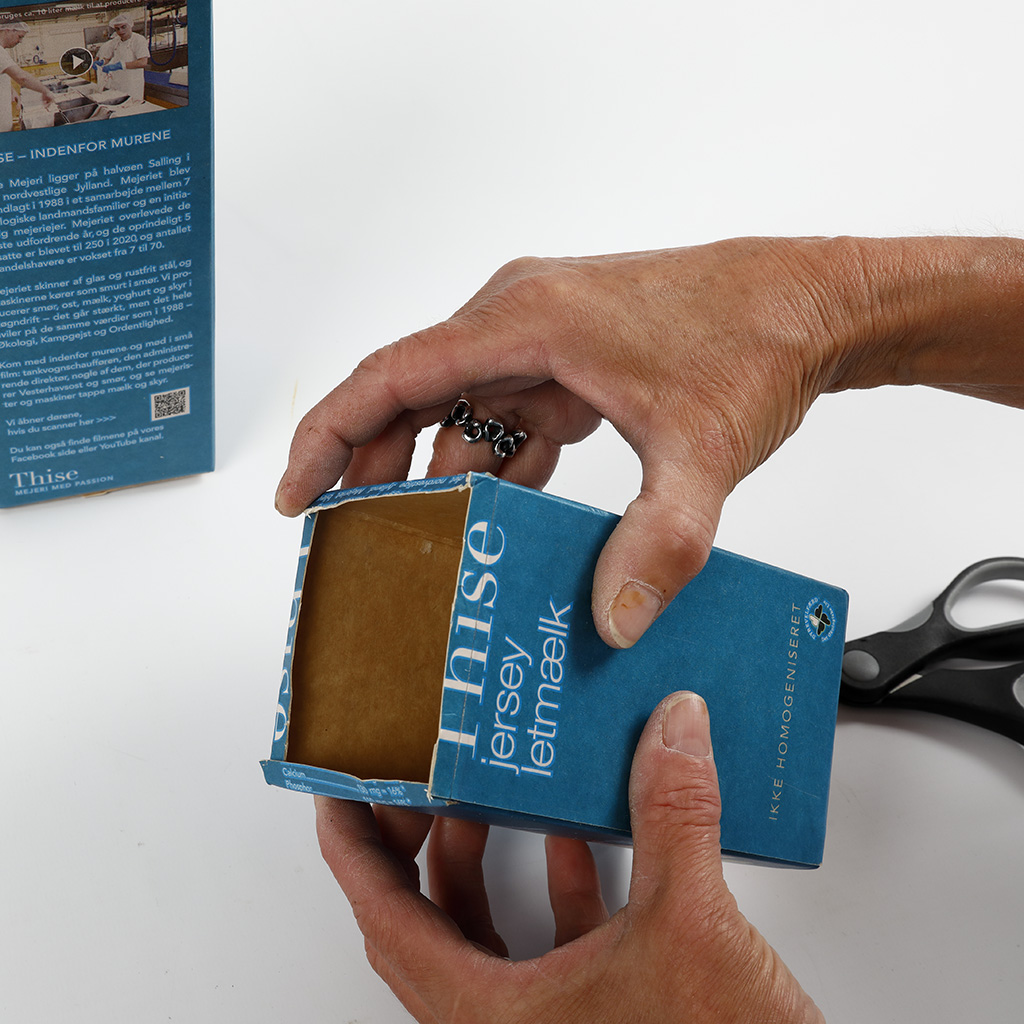
2Cut the top off a second carton as well. The remaining lower section for the nave should be about 13 cm tall.
 3
3Cut a notch of about 1 cm into each corner and fold the sections inward.
 4
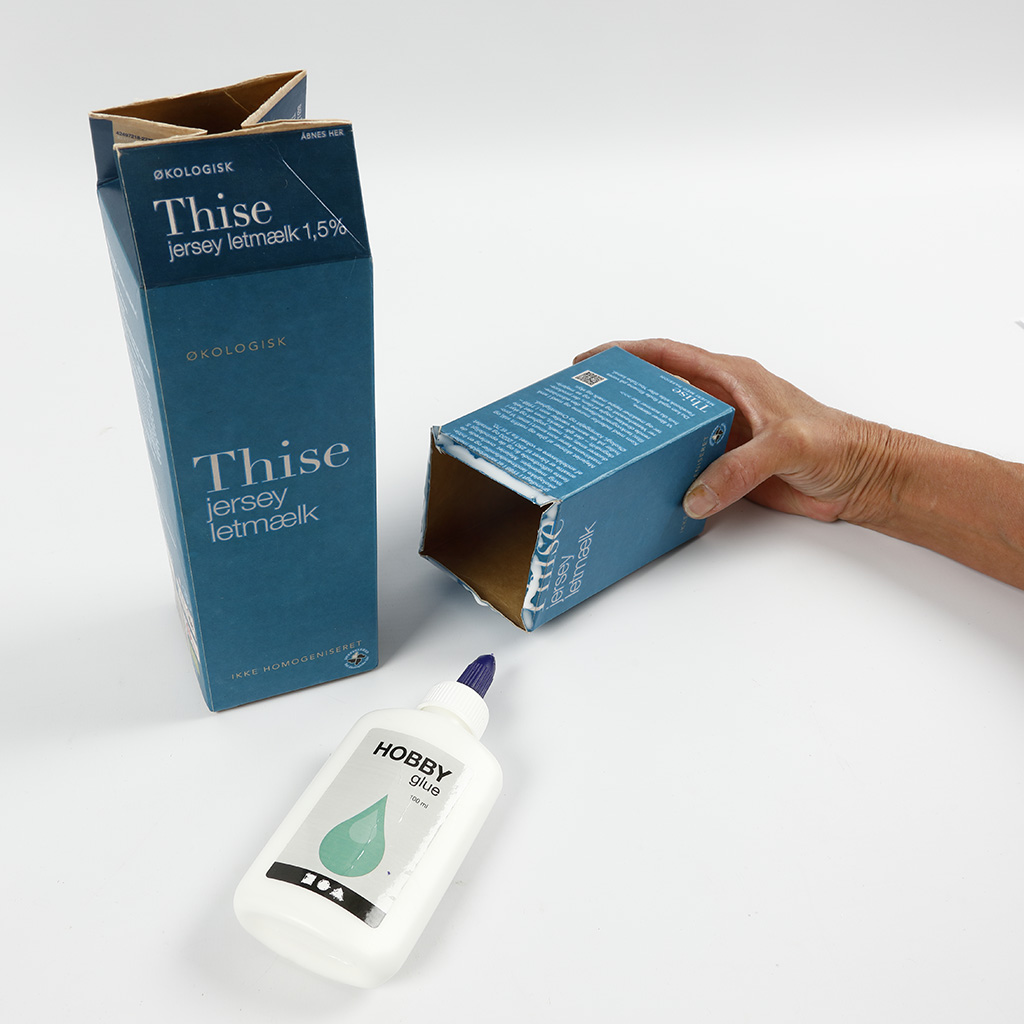
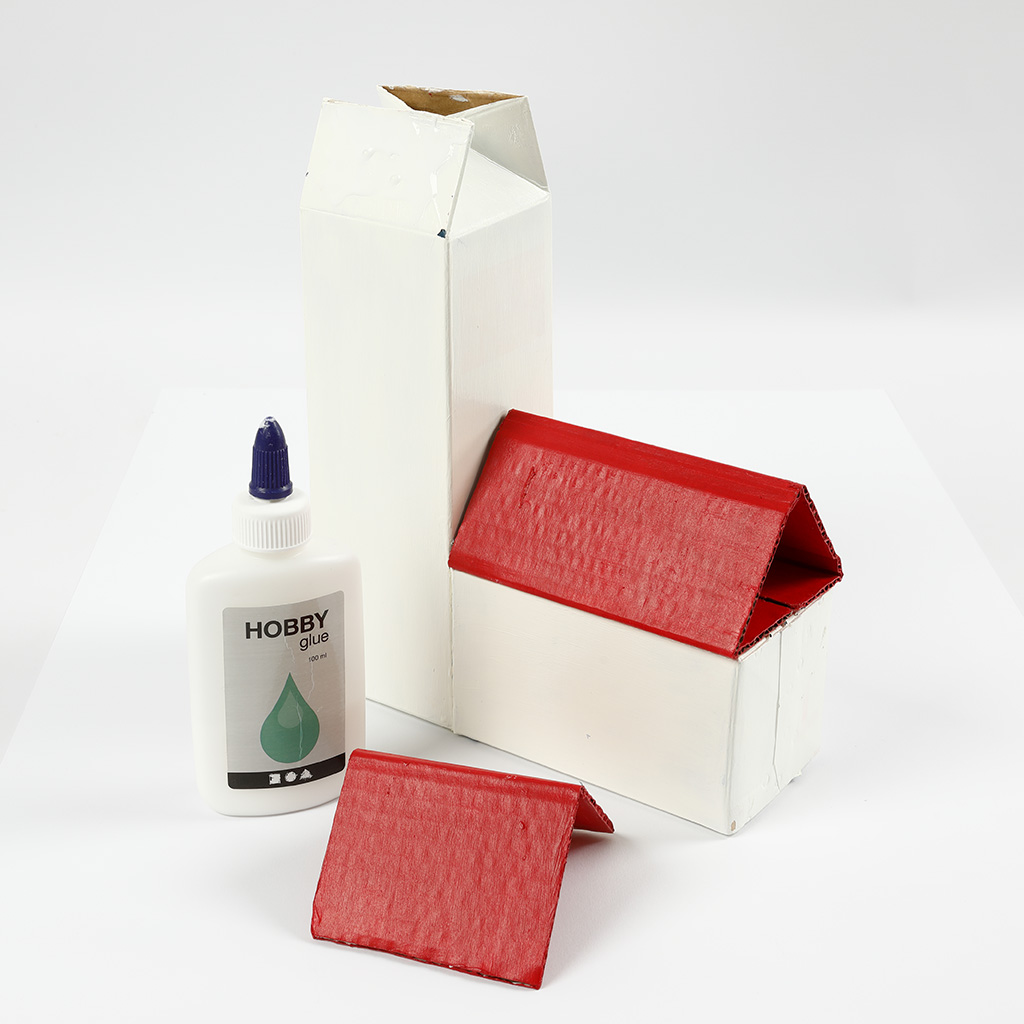
4Glue the tower and the nave together securely.
 5
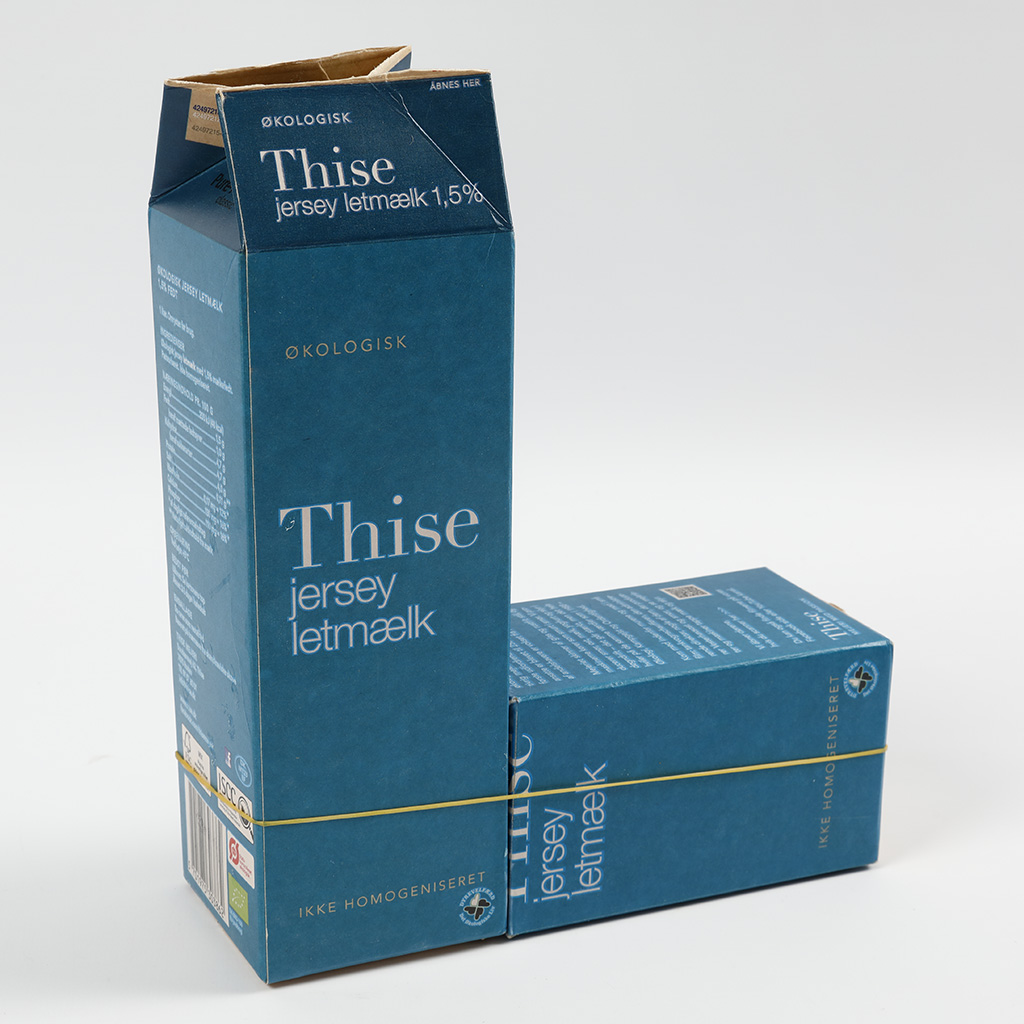
5Tip: To keep the two carton pieces securely in place while the glue dries, wrap elastic bands around them.
 6
6Cut the roofs for both the tower and the nave from recycled cardboard. For the tower, cut a piece measuring roughly 8 × 14 cm, and for the nave, cut one about 12.5 × 21 cm.
 7
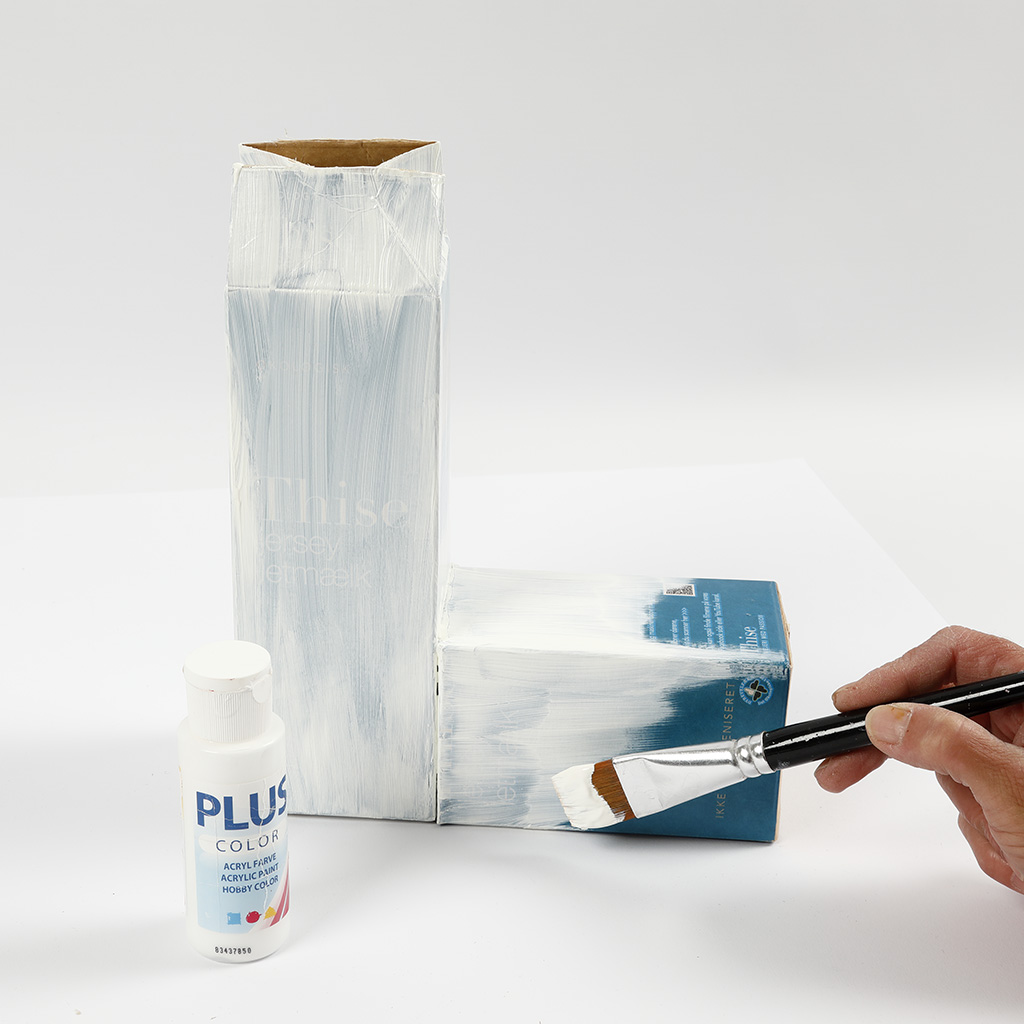
7Paint the church with white craft paint, covering it evenly.
 8
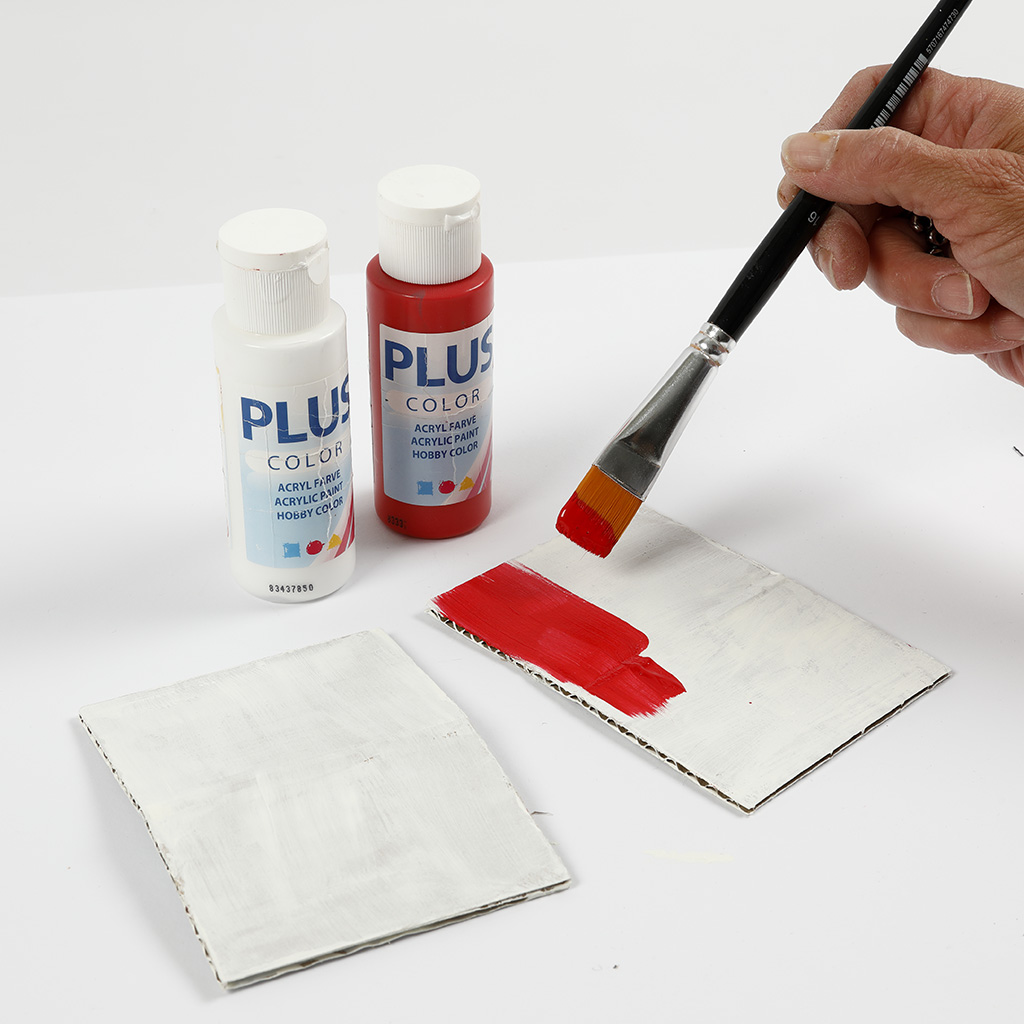
8Apply a base coat of white craft paint to the roof for better coverage, then paint it in the colour of your choice.
 9
9Fold the nave’s roof piece into a triangular shape, and crease the tower’s roof down the middle. Then attach each roof to its corresponding section.
 10
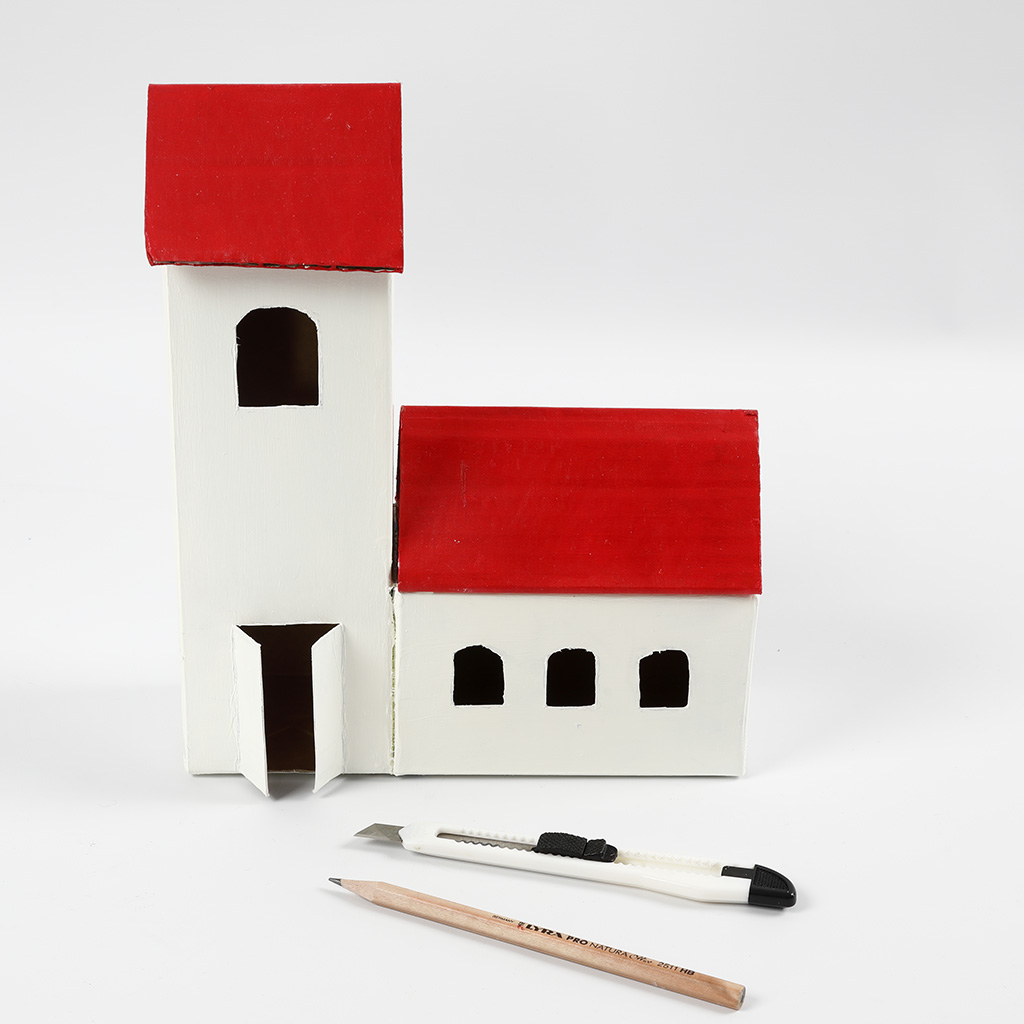
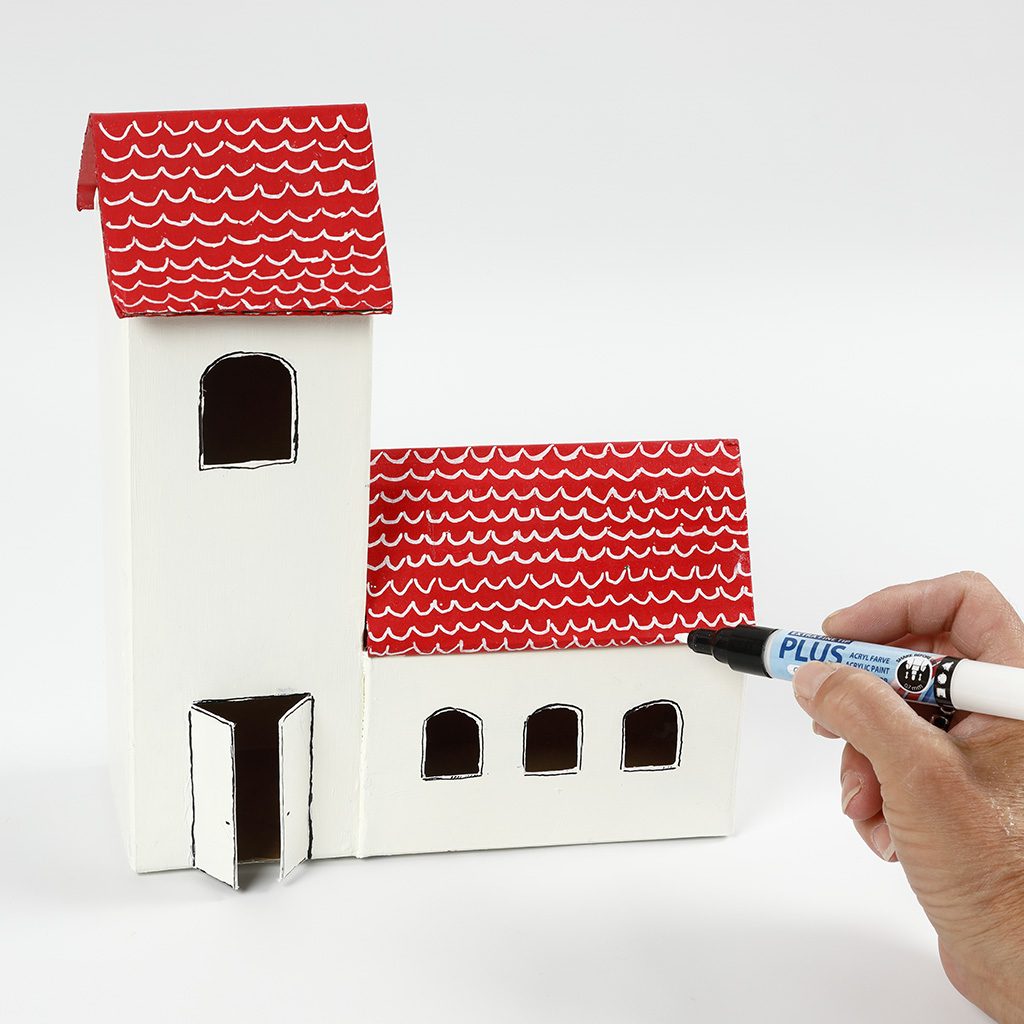
10Sketch the door and windows, then cut out the windows and carefully slit the door open.
 11
11Outline the door and windows with a black marker, and use a white Plus Color marker to draw roof tiles.
 12
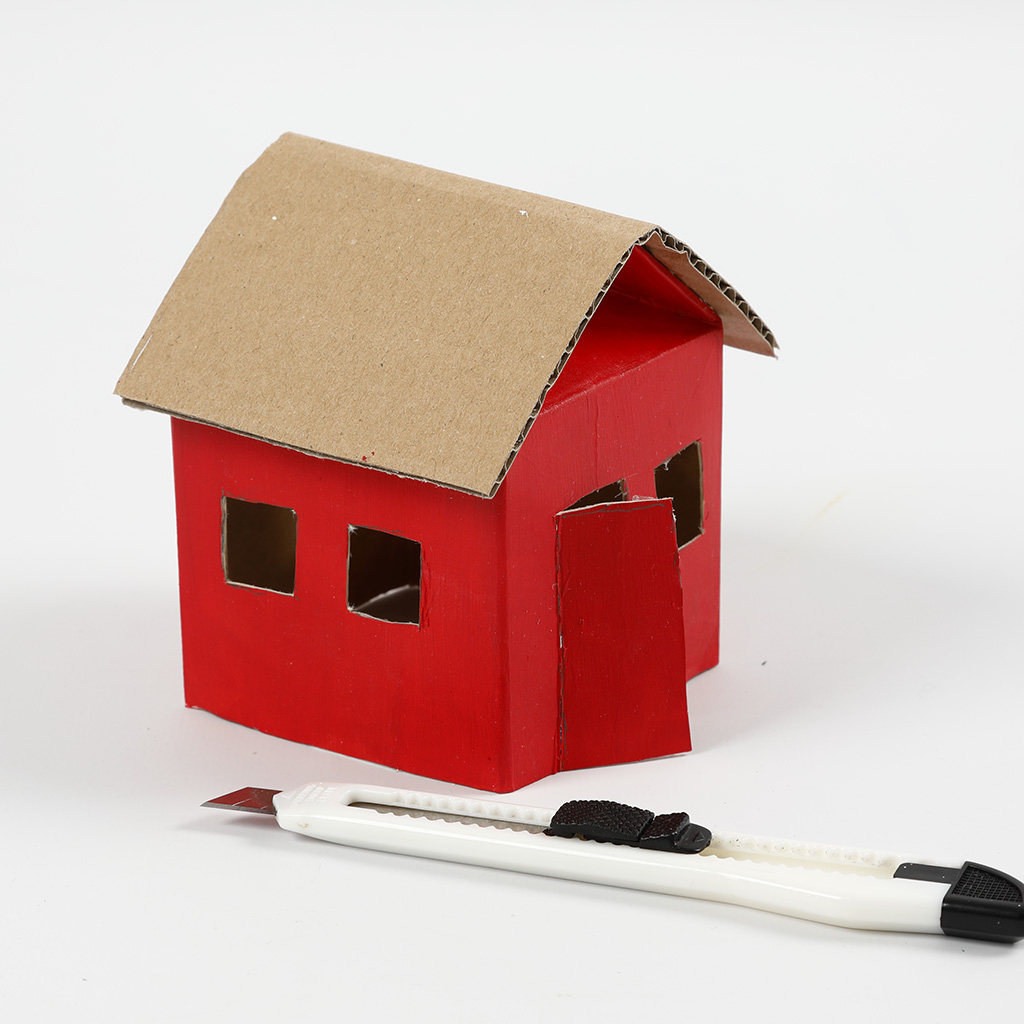
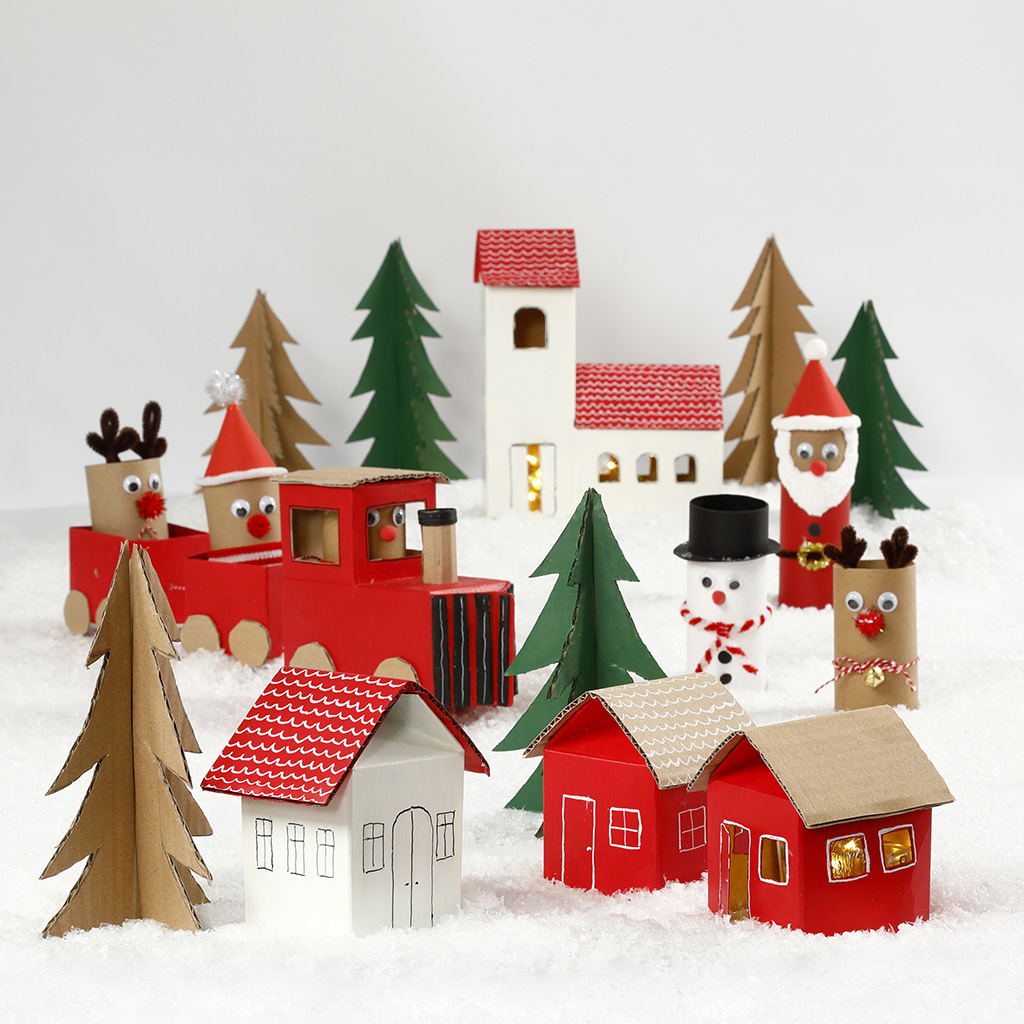
12Cut milk or juice cartons to various heights to create the houses, and make the roofs from recycled cardboard. Paint and decorate both the houses and the roofs in different colours, then glue the roofs in place.
 13
13Here you can see a house with its door and windows cut out.
 14
14Here is a house featuring a hand-drawn windows and door.
 15
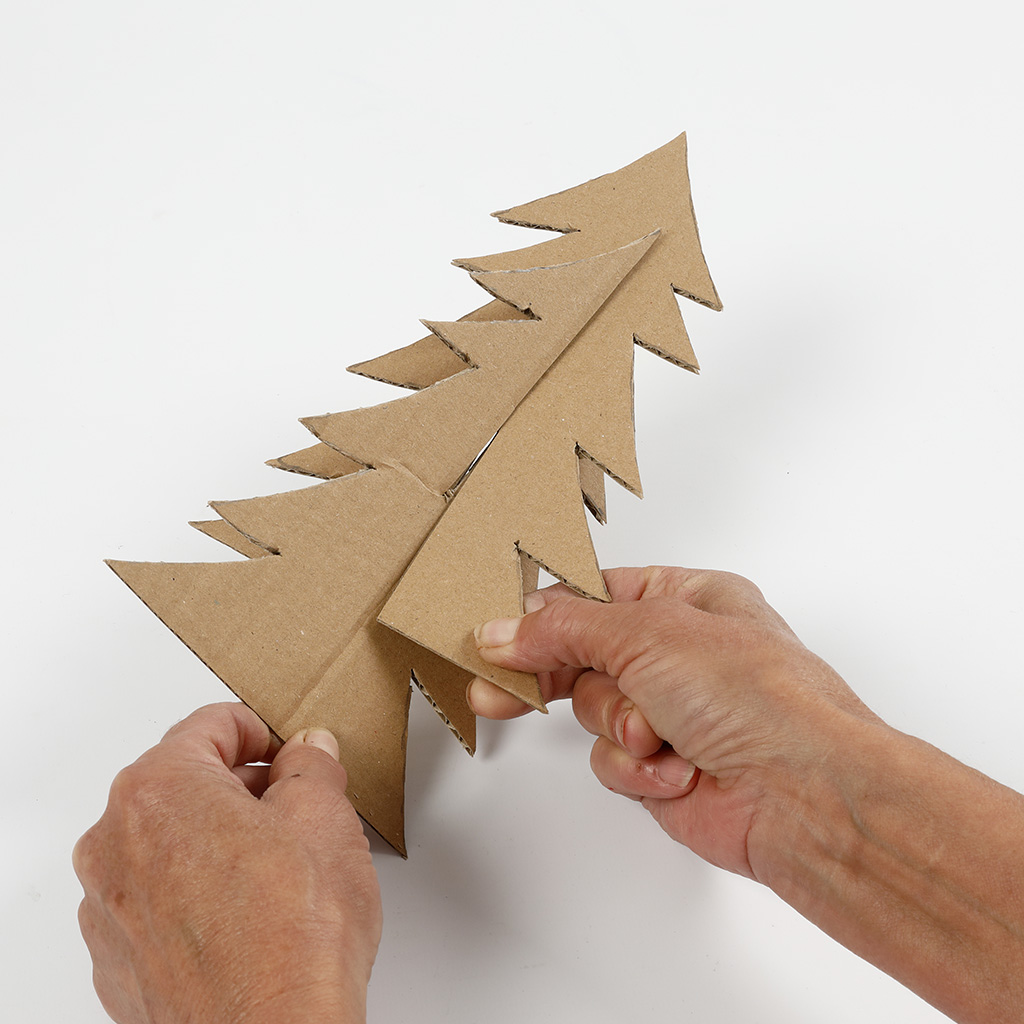
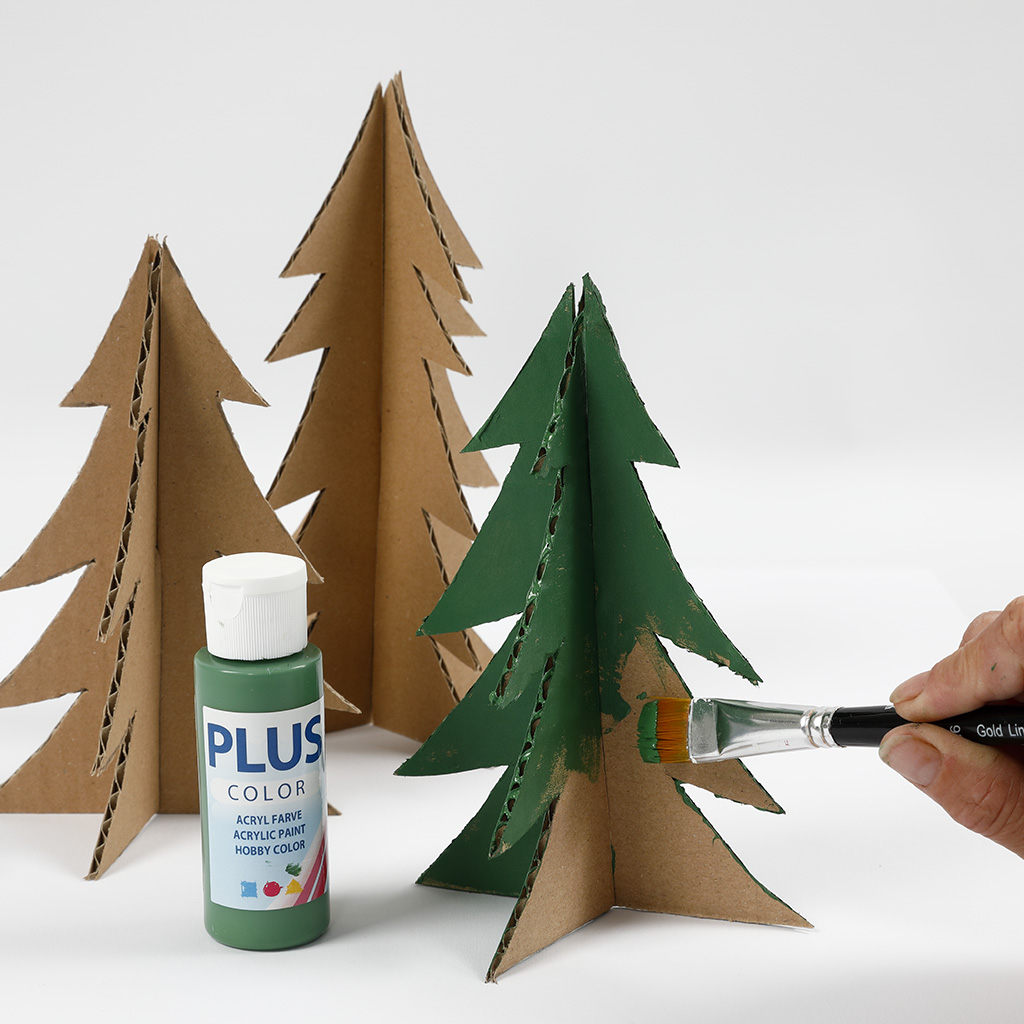
15Cut the trees from recycled cardboard using the template provided as a separate PDF on this page. Each tree is made from two identical cut-outs. For a clean fit, cut a slit matching the thickness of the cardboard — one tree piece should have a slit from the top, and the other from the bottom.
 16
16Put the tree together.
 17
17Paint some of the trees using craft paint.
 Another variant
For instructions on making your own Christmas train, see idea No. 15972. For crafting your own Christmas figures, refer to idea No. 15724.